
Web app demos
This is Domotion’s headline use case. Point an animate config at a running web
app, drive it like a real user — click into a view, fill a field, submit, watch
the result render — and Domotion captures the whole flow as one self-contained
animated SVG. It loops forever, embeds anywhere a static image does, and needs
no video file, no live iframe, and no JavaScript at the consumer’s end.
A web app demo as an SVG embeds where a video or a live iframe can’t: a README, a docs page, an email, a slide. It’s a single file, loads lazily, and renders pixel-faithfully across browsers because the pixels are baked in.
How it works
Section titled “How it works”Each captured frame is a real screenshot of your app’s DOM, taken after that
frame’s actions run. Frames after the first set continue: true, so the browser
keeps the same live page and advances it step by step — client-side state
(open modals, typed text, route changes) carries across frames, which is what
lets a multi-step flow be captured at all. Domotion stitches the frames together
with a transition (cut reads as “the page just updated”) and writes the SVG.
Step 1 — run your app
Section titled “Step 1 — run your app”Start your app on any local URL — a dev server, a preview build, a static export, anything Chromium can load:
npm run dev # e.g. now serving http://localhost:3000Note the URL and a couple of stable CSS selectors for the elements you’ll drive (a nav link, a form field, the submit button).
Step 2 — write an animate config
Section titled “Step 2 — write an animate config”The first frame’s input is your app’s URL. Each later frame sets
continue: true and drives the page with actions (click, fill, type,
press, focus) plus readiness waits (waitForText, waitForGone,
waitForCount) so capture stays in sync with the app’s own async updates.
Here’s a generic flow — open the app, click into a “New item” view, type into a field, submit, and see the result:
{ "$schema": "https://raw.githubusercontent.com/brianwestphal/domotion/main/schemas/animate-config.schema.json", "width": 1280, "height": 720, "frames": [ { "input": "http://localhost:3000", "waitFor": ".app-ready", "duration": 1400, "transition": { "type": "cut", "duration": 0 } }, { "continue": true, "actions": [{ "type": "click", "selector": ".nav-new-item" }], "waitFor": ".item-form", "duration": 1200, "transition": { "type": "cut", "duration": 0 } }, { "continue": true, "actions": [{ "type": "focus", "selector": ".item-form .title" }], "duration": 2000, "transition": { "type": "cut", "duration": 0 }, "overlays": [ { "kind": "typing", "text": "Ship the new onboarding flow", "anchor": { "selector": ".item-form .title", "at": "top-left", "dx": 10, "dy": 8 }, "fontSize": 15, "speed": 75, "caret": true } ] }, { "continue": true, "actions": [ { "type": "fill", "selector": ".item-form .title", "value": "Ship the new onboarding flow" }, { "type": "click", "selector": ".item-form .submit" } ], "waitForText": { "selector": ".toast", "contains": "Created" }, "wait": 150, "duration": 2400, "transition": { "type": "cut", "duration": 0 } } ]}What each piece does:
inputon frame 0, thencontinue: trueon every later frame — one live page advanced step by step, so state persists.actionsrun in array order in real page context:clicka nav link,focusthenfilla field,clickthe submit button.waitFor/waitForTextkeep capture in sync — the third frame waits for the form to mount before typing; the last waits for the success toast to contain “Created” before capturing the result.- The
typingoverlay simulates a caret typing into the field. Wefocusthe input and let the overlay paint the keystrokes, thenfillit for real on the next frame so the value persists. Anchoring the overlay to the field’s box (anchor) means it tracks layout instead of hardcoded pixels.
Run it:
domotion animate ./demo.jsonThat writes demo.svg next to the config. Open it in any browser to watch it loop.
Step 3 — composite into window chrome (optional)
Section titled “Step 3 — composite into window chrome (optional)”Wrap the demo in a browser or app window so it reads as a real screen recording. See Compositing to nest the animated capture as a layer inside a window bezel on a desktop background, and Terminal recordings if your flow includes a CLI step you want framed alongside the app.
Step 4 — export to video or image (optional)
Section titled “Step 4 — export to video or image (optional)”The SVG is the deliverable for the web, but when you need an MP4 for a platform that won’t take SVG, or a still PNG for a thumbnail, see Exporting.
Step 5 — regenerate on every release
Section titled “Step 5 — regenerate on every release”Because the demo is defined by a config checked into your repo, regenerating it
after a UI change is one command, not a re-record — and the output is
deterministic (on the same platform), so you can commit the .svg and review its
changes like code.
Wire it into your release so demos never drift from the app. A package.json
postversion hook regenerates every demo when you cut a version:
{ "scripts": { "demos": "domotion animate demos/onboarding.json && domotion animate demos/checkout.json", "postversion": "npm run demos && git add demos/*.svg && git commit -m \"chore: regenerate demos\"" }}Or gate it in CI — regenerate on every PR and fail if the committed SVGs are stale, so a UI change that would drift the demo can’t merge without updating it:
name: demoson: [pull_request]jobs: check: runs-on: ubuntu-latest steps: - uses: actions/checkout@v4 - uses: actions/setup-node@v4 with: { node-version: 22 } - run: npm ci - run: npx playwright install --with-deps chromium - run: npm run demos - name: Fail if demos are out of date run: git diff --exit-code -- demos/Keep it stable: pre-install Chromium (as above) so the job is fast, commit the
generated .svg files, and regenerate baselines on the same OS you commit
from — rendering is pixel-exact on macOS and matches within a small
native-hinting margin on Linux/Windows, so a mixed-OS matrix can show spurious
within-margin diffs. See Continuous integration for the
general pipeline setup, headless operation, and exit-code behavior.
Real examples
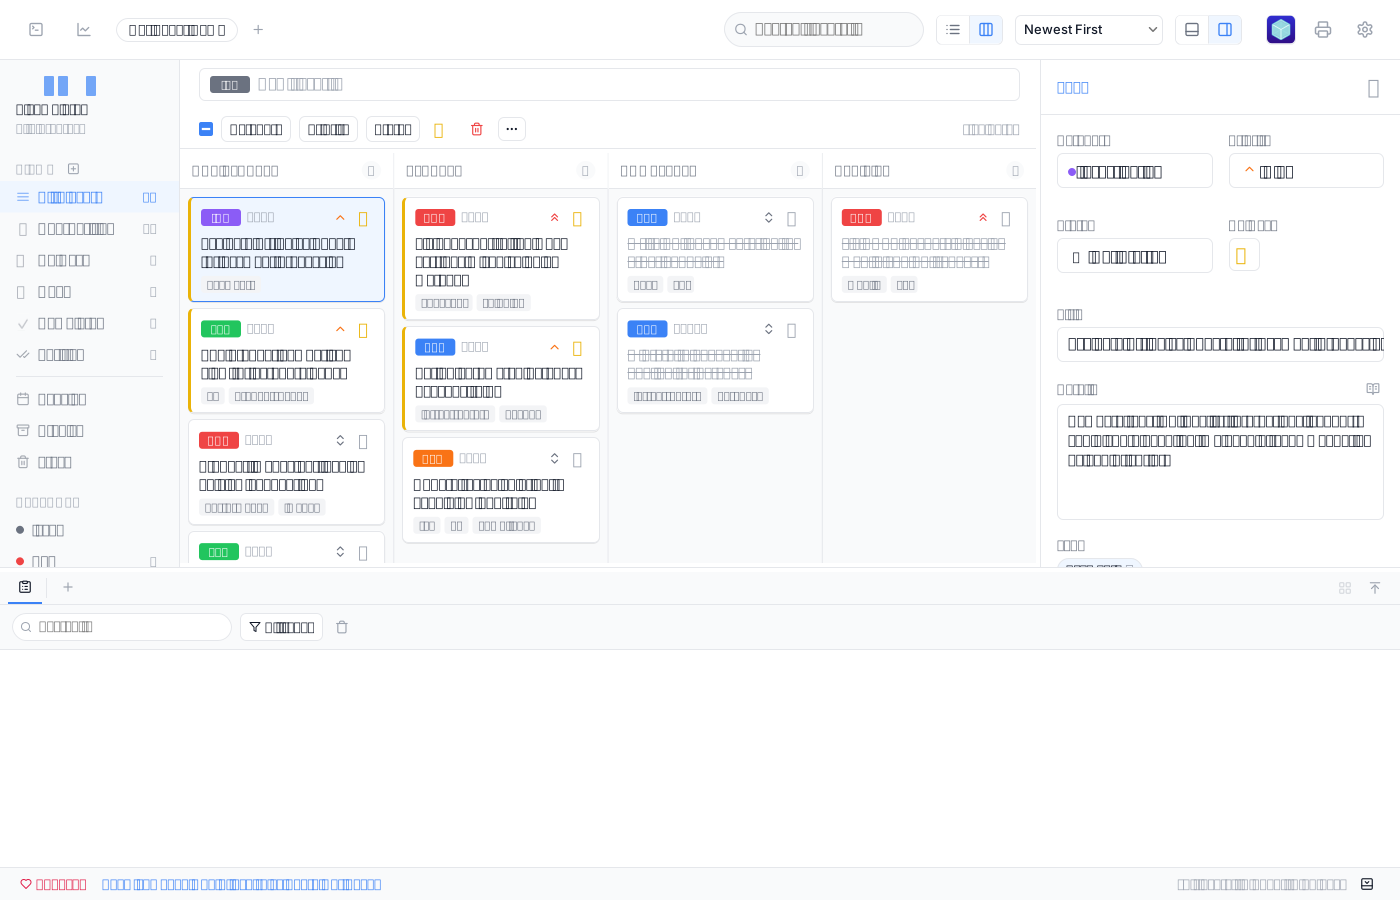
Section titled “Real examples”These are genuine Domotion captures of live web apps — each is one self-contained animated SVG driven through a real interaction flow, exactly as described above.
- Keep selectors stable. Drive the app by durable class or
data-*selectors, not by position or by auto-generated ids. A selector that matches nothing is a hard error naming the frame, so breakage surfaces immediately rather than producing a wrong capture. - Pace with
duration. Each frame holds for itsduration(ms) before the transition out. Give a frame enough time to read; a typing overlay needs the field’s frame to last at least as long as the keystrokes take at itsspeed. - Wait for async, don’t guess. Prefer
waitForText/waitForGone/waitForCountover a fixedwaitwhenever the app loads content asynchronously — capture then happens exactly when the UI is ready. - Type into inputs with a
typingoverlay, thenfillfor real. The overlay animates the keystrokes;fillon the following frame commits the value so it persists as the flow continues. Anchor the overlay to the field so it follows layout, and use amaskcolor if you need it to cover a placeholder. cutbetween steps. A frame’s image is the result of its actions, socut(or a shortcrossfade) reads as “the page just updated” between interaction steps.
See also
Section titled “See also”- Animate (multi-frame) — the full
animatecommand, frame kinds, transitions, overlays, and cursor. - Animate config reference
— the exhaustive, generated field list for every
actionstype, overlay kind, and wait condition.